Project Online and SharePoint Sites
BY: Collin Quiring
We recently had a client who uses Project Online request the ability to NOT create SharePoint sites that are connected to the Project schedules directly. They prefer to use their own SharePoint site. First, it is important to note that Project Online is something that Microsoft routinely tweaks and modifies and doesn’t necessarily notify anybody so it is possible that at some point in the future, this might change, but at the moment there is no ability to turn that off. When you create a schedule with Project Online, you will get a SharePoint site in the Project Online instance.
So, what do you do when you do not want to create a SharePoint site online? There are two options – you can create the site and then promptly delete it, or, you can deactivate the site after you create it. Both of these have their own unique issues that arise as a result. This blog will go through the two options.
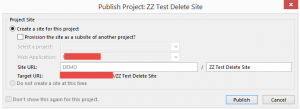
The first option is to create your schedule and create the Sharepoint site and then delete the site. So as to have better screenshots and a more clear explanation, I will go through how that appears when using Project Professional 2013 with a Project Online instance. This first screenshot is the schedule being published. My test schedule name is “ZZ Test Delete Site”. Notice that I do NOT get a choice – I have to make a site. The “Do not Create a Site at the time” is grayed out. I have to “Create a site for this project”.
Ok, so now that the site is created, I can go to PWA Settings and to the Operational Polices and select the Connected SharePoint Sites. At this point, I see that the SharePoint site has been created..
![]()
Just to make sure that no conflicts exist, I closed Project Professional and checked-in the project.
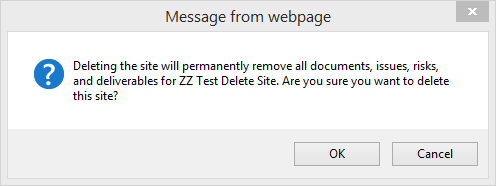
I select the row and select the Deete Site option from the tool bar at the top of the screen. A pop up message appears. (In case you can’t read it, the box says “Deleting this site will permanently remove all documents, issues, risks and deliverables for ZZ Test Delete Site. Are you sure you want to delete this site?”)
Since I do want to delete this site, I select OK. And, while I don’t get another message, I do see now that the site is no longer listed in the Connected SharePoint Sites screen:
![]()
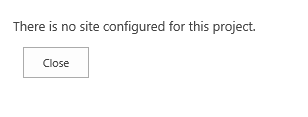
Ok, so now I have accomplished my goal of not having a site, right? Well, yes and I have created a new issue. If I go to Project Center and I drill down on the schedule and select the Project Site I get the message that “There is no site configured for this project.”
However, within Project Professional there is an interesting “bug” about this. When I find and open the file from Project Online and check out the schedule all looks well. But, when I go to Publish again, I get the option box again that I have to create the site. It is just like the first time I published the schedule.

This is a nuisance message. This is something you will just have to train your Project Managers to hit the “Publish” button anyway. In all of the testing I did, this did NOT re-create the site. Going back to Project Center and trying to get so the site still says that there is no site configured. And, no site suddenly appears in the sites list.
A KEY POINT: This will become a bit more clear after the second test. It is important to note that the tasks and settings from the schedule appear as expected within Project Online (Project Center, Resource Center, Tasks, etc).
So, this appears to have resolved the problem and you just have to live with the “create a site” box each time you publish.
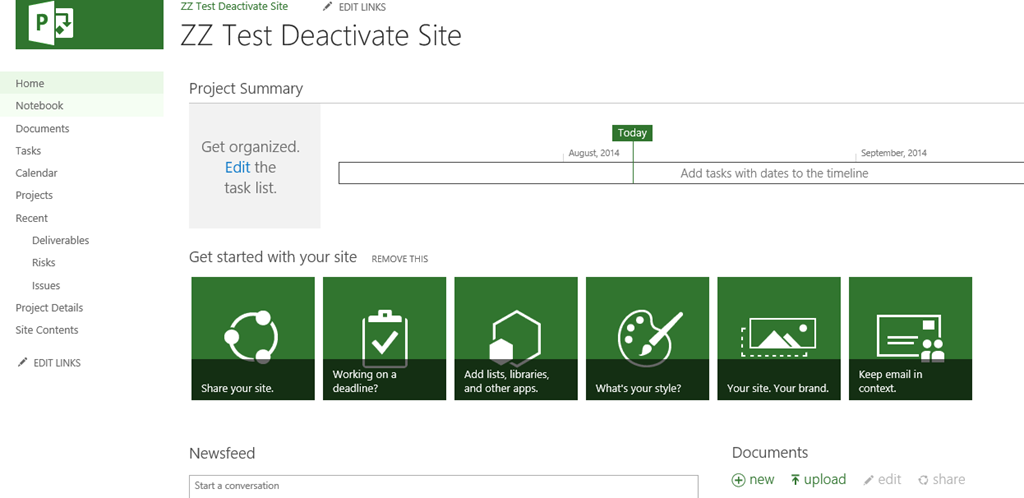
Now for the second test. In this case we will Deactivate the SharePoint site, rather than deleting it. In this case, the schedule name is “ZZ Test Deactivate Site”. After creating, saving and publishing the schedule, the site appears in the settings. In this case I will select the Deactivate option for the site but I will not Delete the site.
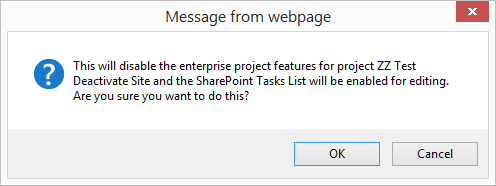
In the Connected SharePoint Sites screen I select the Deactivate option. I then get this pop up box warning me that I am getting rid of the SharePoint site. Which is what I really do want in this case so I select OK. (In case you can’t read it, it says “This will disable the enterprise project features for project ZZ Test Deactivate Site and the SharePoint Tasks List will be enabled for editing. Are you sure you want to do this?”””)
I select OK and now that the site is Deactivated I see the following in the Connected SharePoint Sites screen:
![]()
And, all appears well. However, not so much. If you want to use this like a “normal” Project Online schedule with the task, Project Center and Resource Center working as you would expect then we refer back to the KEY POINT from earlier in this blog. By Deactivating the site what we really have done is not get rid of it, we have only gotten rid of the functionality. In the message we just saw when we deactivated we got a hint to this – where the box says that the SharePoint Tasks List will be enabled. What would be nice is if it said that the Project capabilities would be disabled.
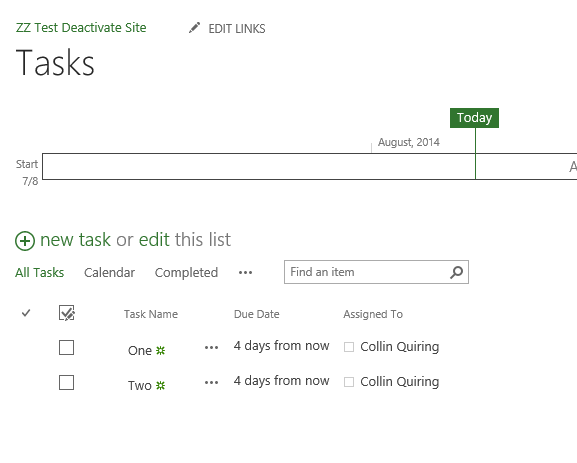
Now when you go to Project Center and drill down on the schedule you are actually taken to the Project Site. So, you are not taken to the Tasks list. You are taken to a site that you theoretically just Deactivated. In our case, this is actually the exact OPPOSITE of what we expected. By selecting “Deactivate” what we really did was “stop using Project Online functionality and only use SharePoint functionality”. Which, is not what we wanted. The tasks have been converted to a SharePoint List and is no longer a “task list” in Project Online as the other schedules with normal sites (or the deleted site).
The tasks list is a SharePoint list now, it is not a “project” task list:
And, opening the schedule in Project Professional now brings up all sorts of interesting pop up boxes. The first one is when you open the schedule it syncs to the SharePoint List.
When you try to save the schedule (not even publish, just save) you get this pop up message (In case you can’t read it the box is called Conflict One and the message says “This task was deleted in SharePoint. To undo deletion, click “Keep Microsoft Project Version”, or click “Keep SharePoint Version” to delete the task from the project plan.” and then it shows the task details)
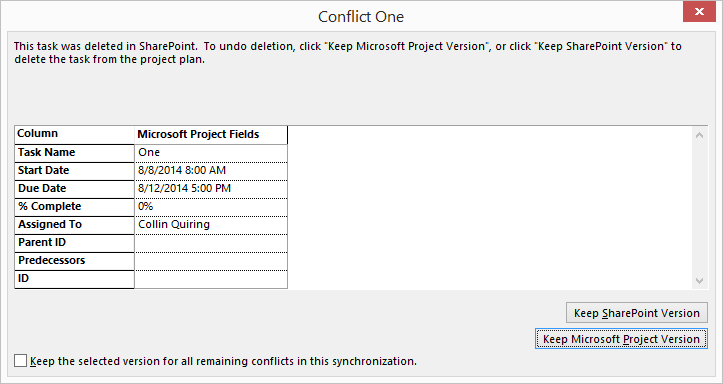
In this case, my goal is to not use SharePoint so I will select the Keep Microsoft Project Version. This pop up appears for each task (unless you select the option to “Keep the selected version for all remaining conflicts in this synchronization.”
Now, another interesting point. I clicked on save to get this. But, when I look at the bottom right of the schedule’s status bar it doesn’t say “Save Completed Successfully”. It says “Publish Completed Successfully”. And, the publish option is grayed out. I do not have the ability to Publish, yet is says that it was just published. Perhaps that is another blog some day about whether or not this actually published or just saved and said it was published or maybe it thinks that because it sync’ed to a SharePoint list that it counts as published?
Therefore, the final conclusion is that if you do not want to have a SharePoint site, you have to publish the schedule, delete the site and train the Project Managers to hit Publish with Create site selected. If you Deactivate the site you actually are doing the opposite of our goal in this case.
Comments
Leave a Reply
You must be logged in to post a comment.